
Subscribe to our Autosphere magazine and our weekly newsletter to get the latest industry news.
Automotive News, Expert Advice, and How-tos
Matching Paint Colours
Autosphere » Collision »

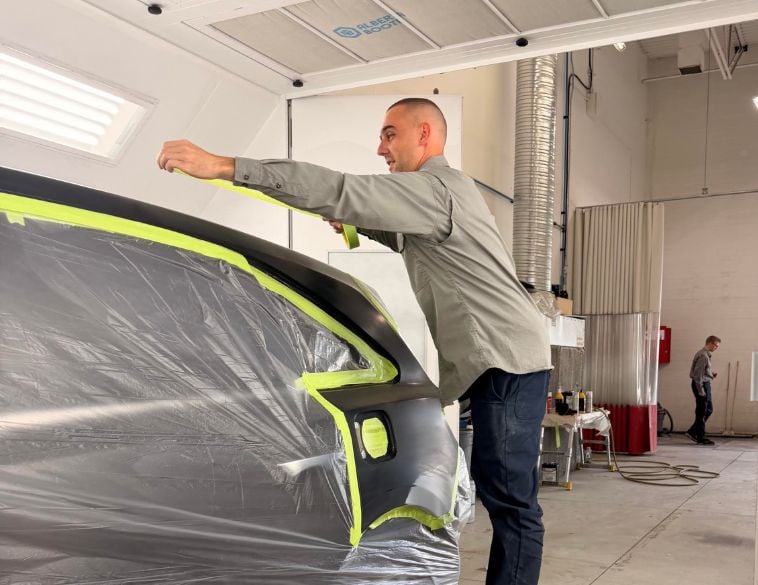
Normand Cormier is the North American Classroom Training Manager for Axalta Coating Systems [email protected]. Photo Normand Cormier
The use of a spectrophotometer is undoubtedly the best method to match the colour obtained to that of the vehicle to be repainted.
Unfortunately in some cases, such as if a vehicle has not had enough paint applied to the body at the time of its construction, it is possible that manual countertyping must be used. The key to success is colour analysis. If this step is not done properly, the chances of success are greatly reduced.
Use the right lighting
In my last column, I talked about the importance of using the right lighting when analyzing colour to match a formulation to the repaired vehicle. The other critical component to the success of this operation is to use the proper viewing angles to analyze the hue, value and saturation of the vehicle colour.
The vehicle colour should always be compared to the mixed colour, not the other way around, as the mixed colour is the reference. If the vehicle is more blue, for example, we know what to do for the correction: add blue.
The analysis of solid colours is generally easier since the perception of them does not really change according to the angle of vision. In the case of effect colours, the metallic and pearl pigments act as tiny mirrors that diffuse light differently depending on the angle from which they are viewed.
A metallic colour can look very light from one angle, but very dark when viewed from a different angle.
To make an accurate analysis of the colour, we must look at it from three specific angles: the slant, front and side view. It is important to note that the light source must remain stationary during this operation. A spectrophotometer analyzes the colour in the same way.
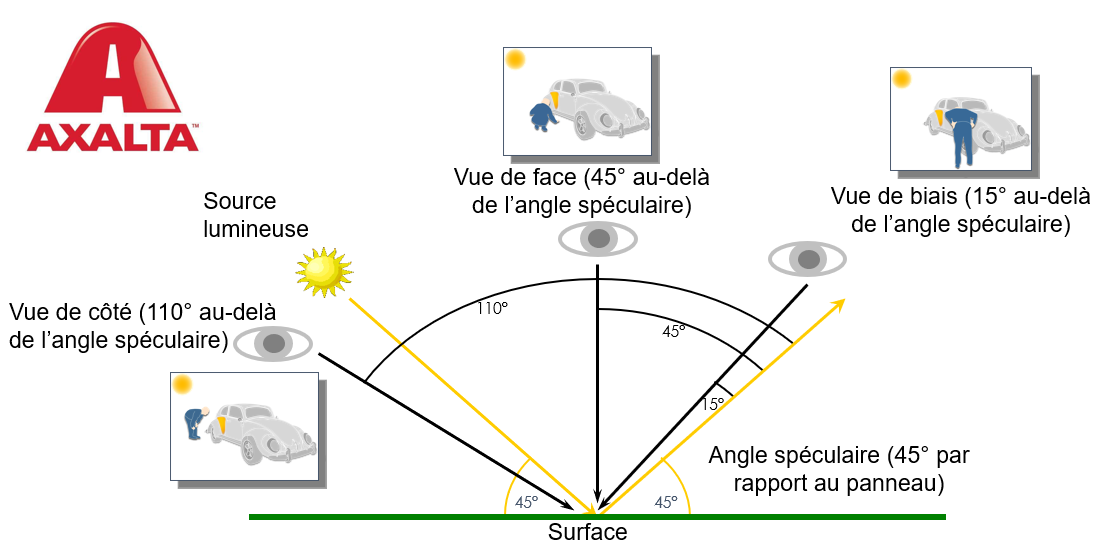
Choose the right angle
The initial reference angle is 45° to the surface. It is also called the specular angle. To begin the colour analysis, one must look at the surface under the bias view, which is 15° beyond the specular angle. At this moment, the light source is in front of us.
We analyze the hue, brightness and saturation of the colour from this angle. It is important to note our observations. We then move to the front view, which is 45° beyond the specular angle. We are then perpendicular to the surface and the light source will be above us. As in the first step, we analyze the three dimensions of the colour and note our observations. Finally, we move to the side view. The light source will be behind us. We proceed to the analysis of the dimensions, always noting our observations.
Once the analysis is completed, all that remains is to look at the list of dyes in the formula and determine which one will need to be adjusted to obtain a match that will be fusible.
Colour matching is an art that requires the right technique to succeed!
Tags : Maintenance and Repair

JOBS
 |  VALLEYFIELD VALLEYFIELD Permanent Permanent |
 | CHAMBLY Full time |
 | DOLLARD-DES-ORMEAUX Full time |
 | BROSSARD Permanent |
 | BOUCHERVILLE Full time |