
Subscribe to our Autosphere magazine and our weekly newsletter to get the latest industry news.
Automotive News, Expert Advice, and How-tos
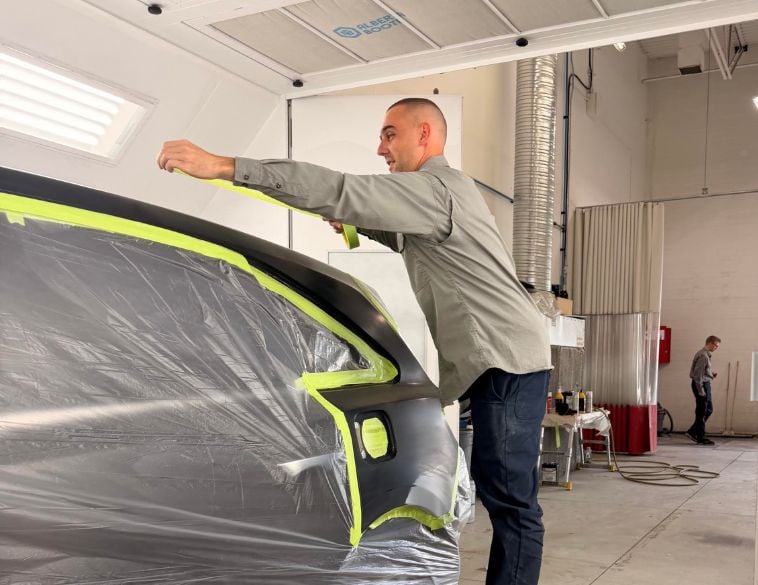
Flexible Process: Repairing Polyurethane Bumpers
Autosphere » Collision »

1978-81 Camaros are among the popular classics today that sport urethane bumper covers. Photo: General Motors
Urethane bumper repairs require a specific procedure
Pioneered by General Motors’ Pontiac Division on the nose of 1968 GTO, Thermoset Polyurethane bumper covers became very popular on Domestic vehicles during 1970s and through the early 1990s due to legislative requirements. These types of bumpers feature flexible bumper covers made of Thermoset Polyurethane. The idea behind it was to have a rubberized plastic coating over a steel bar with rams that was able to withstand low speed shunts of up to 8 km/h (5 mph), with the flexible plastic allowing the bumper to bounce back to its original shape.
Largely replaced
Today, these types of bumper covers have largely been replaced by polypropylene units on late-model vehicles, yet with the growing interest in 1980s and early 1990s vehicles among collectors and more being restored, understanding how to repair these plastic parts is becoming increasingly important.
Companies such as 3M and Polyvance provide a range of products to help repair these kinds of bumpers but it’s important to note that polyurethane has some unique properties which dictate both the techniques and the equipment required.
Polyurethane is created when two liquid components are mixed and cross-linked in the mould during the thermoset process.

According to Kurt Lammon at Polyvance, which was formed originally in 1981 as Urethane Supply Company to deal with repairs on these kinds of bumpers, a key factor regarding polyurethane plastic is that it cannot be melted, nor a nitrogen plastic welder used when performing the repair. Instead, Lammon recommends using an airless plastic welder, with the welding rod being used as a hot melted glue to perform the repair. Doing it this way means that while the rod itself is melted, the base plastic isn’t, a bit like brazing when performing metal repairs.
Very sturdy
When the welder is set properly to the PUR setting, the welding rod should come out of the tip as a clear liquid. By placing the welding tip slightly above the surface of the plastic and creating a vee groove in the plastic to allow the rod to flow into the groove you get a very sturdy and robust repair.
The trick is to add the rod but linger too long on the bumper cover surface as too much heat will distort it.
When performing these kinds of repairs, while the welds—if done properly are immensely strong—they tend to require a coat of flexible filler over the weld because it doesn’t feather well during sanding, so to avoid blemishes and rough surfaces, a two-part epoxy filler is needed. Additionally, it is important to note that adhesion promoters are not required on polyurethane bumper repairs.
Repair the best option
With many surviving vehicles from the 1980s and 1990s not currently served well by the performance and restoration aftermarket (particularly when it comes to body panels), being able to repair original parts like urethane bumper covers is often the only option.
While it takes a bit of time and effort, done diligently the results truly speak for themselves and you can have a 30-35-year-old polyurethane bumper cover that looks as good as new.

JOBS
 |  SAINT-EUSTACHE SAINT-EUSTACHE Full time Full time |
 | LANAUDIÈRE Summer Job |
 | JOLIETTE Full time |
 | ST-HUBERT Permanent |
 | QUÉBEC Permanent |