
Subscribe to our Autosphere magazine and our weekly newsletter to get the latest industry news.
Automotive News, Expert Advice, and How-tos
Tips for Repairing 80s-90s Polyurethane Bumpers
Autosphere » Collision »
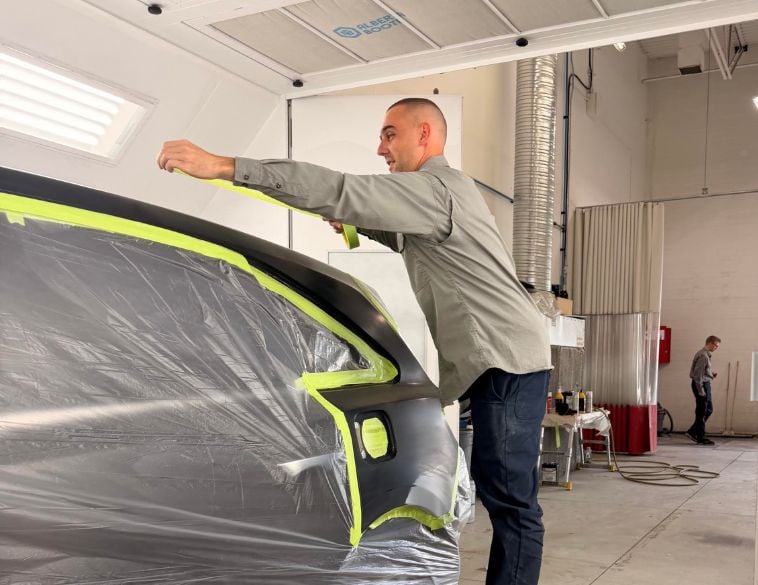
Polyurethane bumper covers, typically found on 1980s era vehicles can be repaired, though techniques are different than those on modern TPO pieces. PHOTO Huw Evans
Tips for repairing polyurethane bumpers found on many 1980s and 1990s “modern” classics.
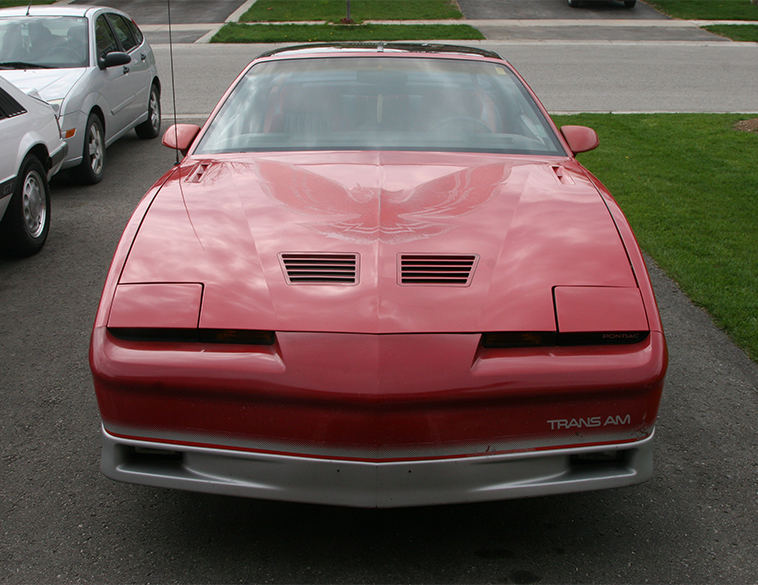
For its 1968 mid-sized GTO muscle car, the Pontiac division of General Motors introduced a novel exterior feature, the Endura bumper cover.
Essentially, this featured a flexible plastic urethane material mounted over a steel frame.
The idea was that if the front of the vehicle was impacted by another in the parking lot, or some other object, like a sign or post, at very low speeds, the plastic would absorb the energy of the impact and return into its original position.
A few years later in 1973 the U.S. Federal Government introduced a ruling that all new passenger vehicles sold in the U.S. and Canada had to feature front bumpers or covers that could withstand 5 mph (8 km/h) shunts and return to their original shape, a standard for rear bumpers was added for 1974.
One way that OEMs dealt with this mandate at the time, was to use polyurethane, either for the surface of the bumper cover itself, or as filler inserts mounted behind conventional steel bumpers mounted on hydraulic rams that would absorb the impact and bounce back to their original shape.
More integrated
Initially, some of the designs were rather ungainly, though over time, urethane bumper covers became smoother and more integrated into the overall vehicle design.
In the 1980s, urethane bumper covers began to be displaced by thermoplastic polyolefin (TPO) bumper covers, in fact the first vehicle to adopt them, was the 1985 Chevrolet Cavalier sedan.
Today, TPO covers are still the standard on most vehicles, though when damaged, they require a different set of repair processes since the material acts differently compared with their urethane predecessors.
Given the growing interest in cars from the late 1970s, 1980s and early 1990s, more restoration shops are taking on these vehicles.
Yet when it comes to repairing original bumper covers or urethane plastic aero extensions, careful consideration is needed.
If the bumper cover is already damaged with cracks, and you plan on repairing it, you must take measures to stop the cracks from spreading, says Jason Arnott, General Manager, Field Operations, Western Canada for CSN Collision Centres, “otherwise you’ll be back to square one,” he states.
Arnott also stresses the importance of ensuring the repair area, along with the tools being used is clean, prepped and ready to go.
“Contamination is not your friend in these kinds of repair situations and failure to keep the work area clean will result in a bad repair or failure right away.”
Scott Bixler, Product Development Manager for Polyvance, which specializes in providing equipment and training for plastic repairs, explains that while TPO bumpers can be repaired easily by melting the base material and filler rod together, typically using a nitrogen plastic welder, polyurethane bumpers cannot.
“Polyurethane bumpers are made using a process called RIM (Reaction Injection Moulding) and are thermoset plastic,” says Bixler.
This means they are formed by injecting two chemicals into a mould and waiting for those chemicals to react before removing from the mould.
As a result, they are not as easily repairable as TPO bumper covers and cannot be recycled. They do however; offer advantages for repair technicians and restorers.
Firstly, they’re easier to refinish and often don’t require the use of an adhesion promoter. Secondly, they aren’t as expensive to manufacture as TPO bumper covers, because the moulds aren’t as costly.
Urethane rods and airless welders
So how do you repair a polyurethane bumper on a 1980s era car, especially one that has cracks, broken tabs and also spiderwebbing—a common problem on these types of parts due to aging and temperature cycling of the urethane.
According to Scott Bixler, the only way to repair a crack in a polyurethane bumper is by using a R01 Urethane Rod and an airless plastic welder.
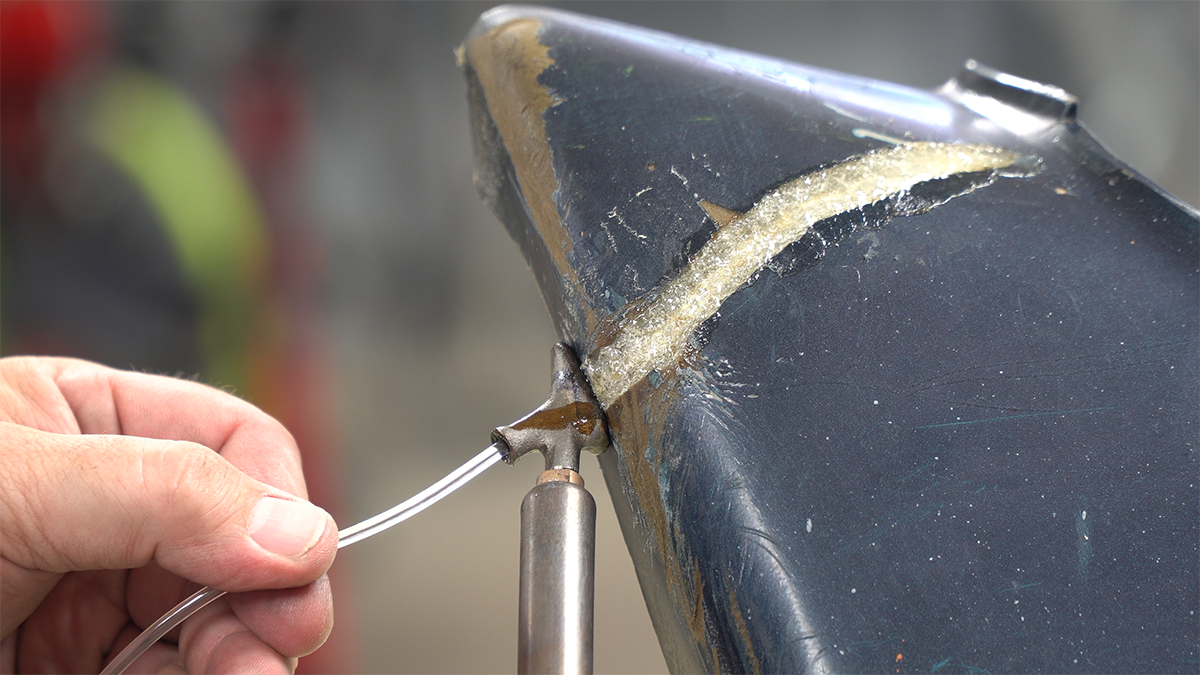
“The welder is never put in direct contact with the bumper,” says Bixler, “otherwise the heat will decompose the urethane, but the welder is used to apply the urethane rod in a way that is similar to brazing metal. The result is a strong and flexible repair.”
Jason Arnott, at CSN Collision Centres says that in many cases, spider cracking can actually hide more damage, so it’s important to take care of the cracks first.
“Otherwise,” he explains, “the crack [even after its repaired on the surface] will come back—100%,” Arnott explains.
Additionally, before attempting the repair, a technician also needs to inspect both sides of the bumper to properly evaluate the extent of the damage.
“Damage such as cracks and tears that penetrate the plastic should be considered two-sided repairs which will require backside reinforcement followed by cosmetic repair,” explains Phil Brown, Application Development Specialist at 3M Automotive Aftermarket Division.

Brown also notes that where the crack is located on the bumper will also determine the type of repair.
“Damage such as cracks and tears that penetrate the plastic should be considered two-sided repairs which will require backside reinforcement followed by cosmetic repair,” he says.
Additionally, tackling the common spider cracks found on the surface of these types of bumpers requires careful sanding, since they are often found in the paint itself, plus in order to achieve an optimal result, a good urethane primer is also required.
3M offers Standard Operating Procedures (SOPs), for bumper repairs, including cosmetic, backside and tab repairs.
Brown also stresses that during the repair process, flexible fillers or adhesives are used, otherwise the repair area will eventually crack and peel due to external factors such as changes in temperature.
“Traditional body filler is rigid and should NOT be used for bumper repair. It will not flex as intended and may delaminate and or crack over time.”

JOBS
 |  LAVAL LAVAL Permanent Permanent |
 | BROSSARD Full time |
 | SALABERRY-DE-VALLEYFIELD Full time |
 | BROSSARD Full time |
| SALABERRY-DE-VALLEYFIELD Full time |