Five steps to help diagnose root cause(s) of emissions problems.
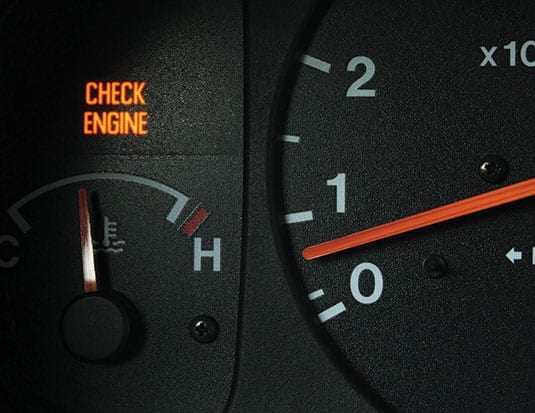
It’s no fun to face any unhappy customer, much less one whose “Check Engine” light is shining once again in spite of the fact that you recently installed a new catalytic converter on their vehicle.
What’s required is a proven process for minimizing emissions control comeback by helping to identify and correct the root causes of these common problems.
1. Correct all PCM codes first.
Begin by retrieving all powertrain control module trouble codes and performing any and all required repair procedures for those codes. Also determine if there are available PCM reflash updates and/or service bulletins for the vehicle. Manufacturers periodically correct software issues that can affect emissions performance; you’ll want to be sure these updates are made to the PCM before installing a new converter.
2. Check for and correct exhaust leaks.
Having a leak-free exhaust system is vital because the engine management system relies on accurate data about the composition of the exhaust gases to help optimize fuel trim and other variables. Even a pinhole leak could pull enough extra oxygen into the exhaust stream to trigger a P0420 code.
3. Make sure the vehicle is in proper fuel control.
Fuel trim that is off by even 10 percent can affect emissions and fuel economy. In some cases, this condition could even introduce raw fuel into the converter. The best way to determine if a vehicle is in fuel control (Lambda of “1,” or within a range of .995 to 1.005 at idle) is to use a recently calibrated four- or five-gas analyzer. If you don’t have one, you can often detect emissions issues by checking the rear O2 sensor with a scan tool or high-impedance digital VOM meter. In this case, the rear O2 sensor reading should be equal to or above 450 millivolts when the engine is idling or running at consistent RPM. Steady readings of 650 to 850 millivolts are common when the engine is well tuned. If the rear O2 sensor is either switching rapidly or below 450 millivolts, there’s either an engine management issue or a mechanical problem such as an exhaust leak.
4. Check for causes of converter contamination.
Checking the mechanical condition of the engine will help identify issues that can impact converter performance and service life. An internal cooling system leak, for example, can introduce coolant into the combustion chamber and, ultimately, the exhaust stream where it can damage the converter substrate. Check for a leak by performing a pressure test. The system should hold the specified cap pressure for at least 15 minutes.
Overall mechanical condition of the engine can be determined through a volumetric efficiency test, which is relatively easy to calculate on most vehicles by using mass air flow sensor readings at wide-open throttle. If you identify mechanical issues such as a coolant leak, misfiring cylinders or other problems, they must be corrected before installing a new converter.
5. Make sure you are installing the correct replacement converter.
Locate the Vehicle Emission Control Information Label in the engine compartment to determine whether the vehicle is EPA or CARB (California) certified. If it is CARB certified, use the engine code to look up the corresponding replacement converter in your provider’s catalogue.
Remember, catalytic converters have no internal moving parts and do not fail on their own. They can be damaged by physical impact (a curb or large rock, for example), but usually fail as a result of other issues present in the vehicle. These issues must be corrected before installing a replacement converter. Ignoring these repair steps is simply a recipe for a repeat failure and an unpleasant call from the customer.


